The Garlic Table:
Recipes for Every Craving

Explore Garlic Shop Recipes
Wholesome Recipes with
a Garlic Punch
Ingredients:
Black Pepper, Broccoli Rabe, Garlic, Lemon, Olive Oil, Red Pepper Flakes, Salt
Description:
Discover a vibrant Italian side dish where tender broccoli rabe meets a fiery embrace of fresh garlic and chili. It’s a bold, flavorful experience that truly celebrates the aromatic power of the garlic. Perfect for adding a zesty kick to any meal!
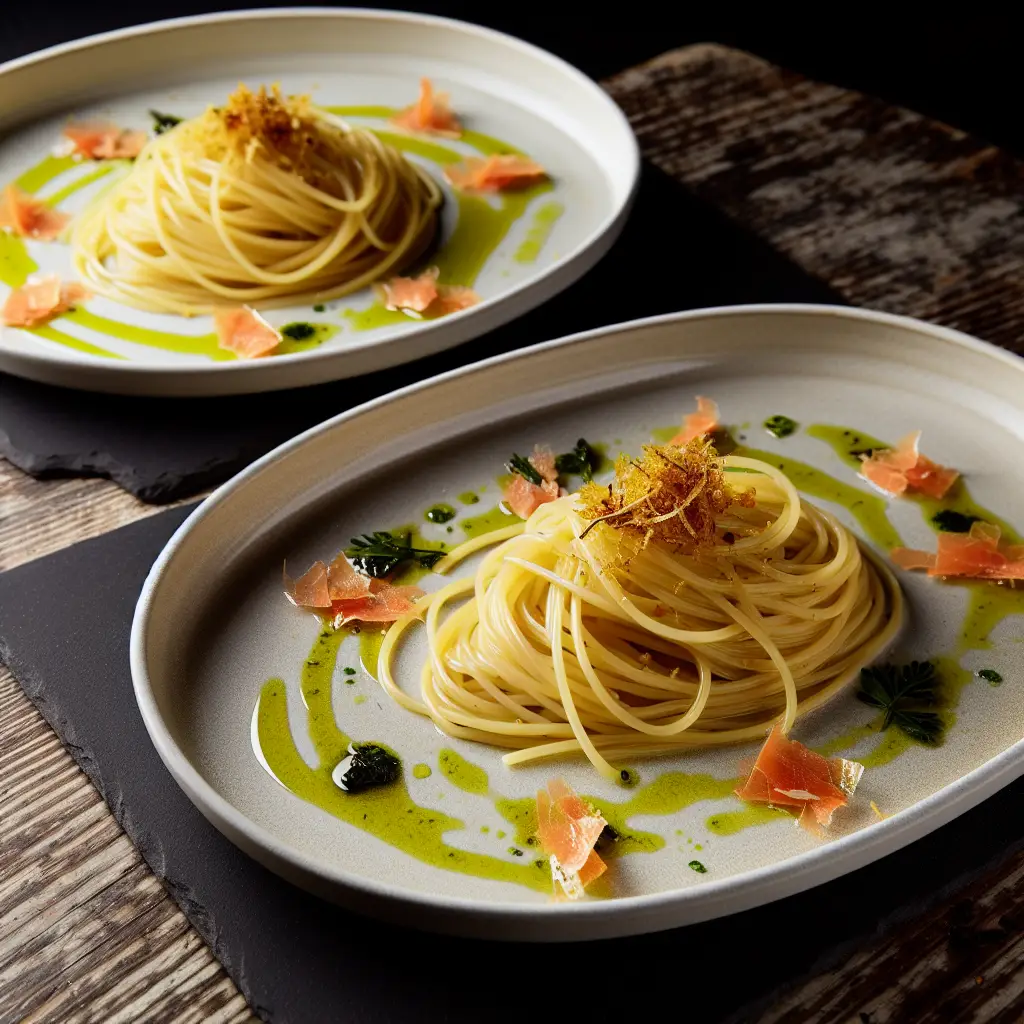
Mediterranean Magic: Garlic-Infused Spaghetti with Golden Bottarga
Ingredients:
Instructions:
1. Cook the Spaghetti
Bring a large pot of heavily salted water to a rolling boil. Add the spaghetti and cook according to package directions until al dente.
2. Prepare the Garlic Oil
While the pasta cooks, heat the extra virgin olive oil in a large skillet over medium-low heat. Add the thinly sliced garlic and red pepper flakes. Cook gently, stirring occasionally, until the garlic is golden and fragrant, about 5-7 minutes. Be careful not to burn the garlic.
3. Combine
Before draining, reserve about 1 cup of the pasta cooking water. Drain the spaghetti and add it directly to the skillet with the garlic oil. Add about ½ cup of the reserved pasta water and toss vigorously to emulsify the sauce. Add more pasta water as needed to create a light, glossy sauce.
4. Finish and Serve
Remove the skillet from the heat. Stir in the fresh chopped parsley and most of the grated bottarga. Toss well to combine. Serve immediately, garnished with the remaining grated bottarga. For an extra touch, drizzle with a little more fresh olive oil before serving.
Experience the quintessential taste of the Mediterranean with this exquisite Italian pasta dish, where fragrant garlic and fiery chili meet the delicate, briny essence of bottarga, creating a truly unforgettable garlic-centric culinary journey.

Marinated Anchovies with Zesty Garlic Infusion
Ingredients:
Instructions:
1. Prepare the Anchovies
Ensure your anchovies are very fresh. Clean and fillet them, removing the heads, guts, and central bone. Rinse them thoroughly under cold running water and pat them completely dry with paper towels. Arrange the fillets in a single layer in a non-reactive dish (glass or ceramic.)
2. Marinate
In a small bowl, whisk together the extra virgin olive oil, fresh lemon juice, thinly sliced or minced garlic, chopped fresh parsley, salt, and black pepper.
3. Combine
Pour the marinade evenly over the anchovy fillets, making sure they are fully submerged. If needed, add a little more olive oil to ensure coverage.
4. Chill
Cover the dish and refrigerate for at least 2-4 hours, or preferably overnight, allowing the flavors to meld and the lemon juice to “cook” the fish. The fish will turn opaque.
5. Serve
Before serving, allow the anchovies to come to room temperature for about 10-15 minutes. Serve with crusty bread, on a fresh salad, or as part of an antipasto platter.
Dive into the refreshing flavors of the Italian coast with these simple yet exquisite marinated anchovies, where fresh fish meets a vibrant blend of garlic, lemon, and herbs for a truly tantalizing garlic-infused experience. Perfect as an appetizer or light lunch!
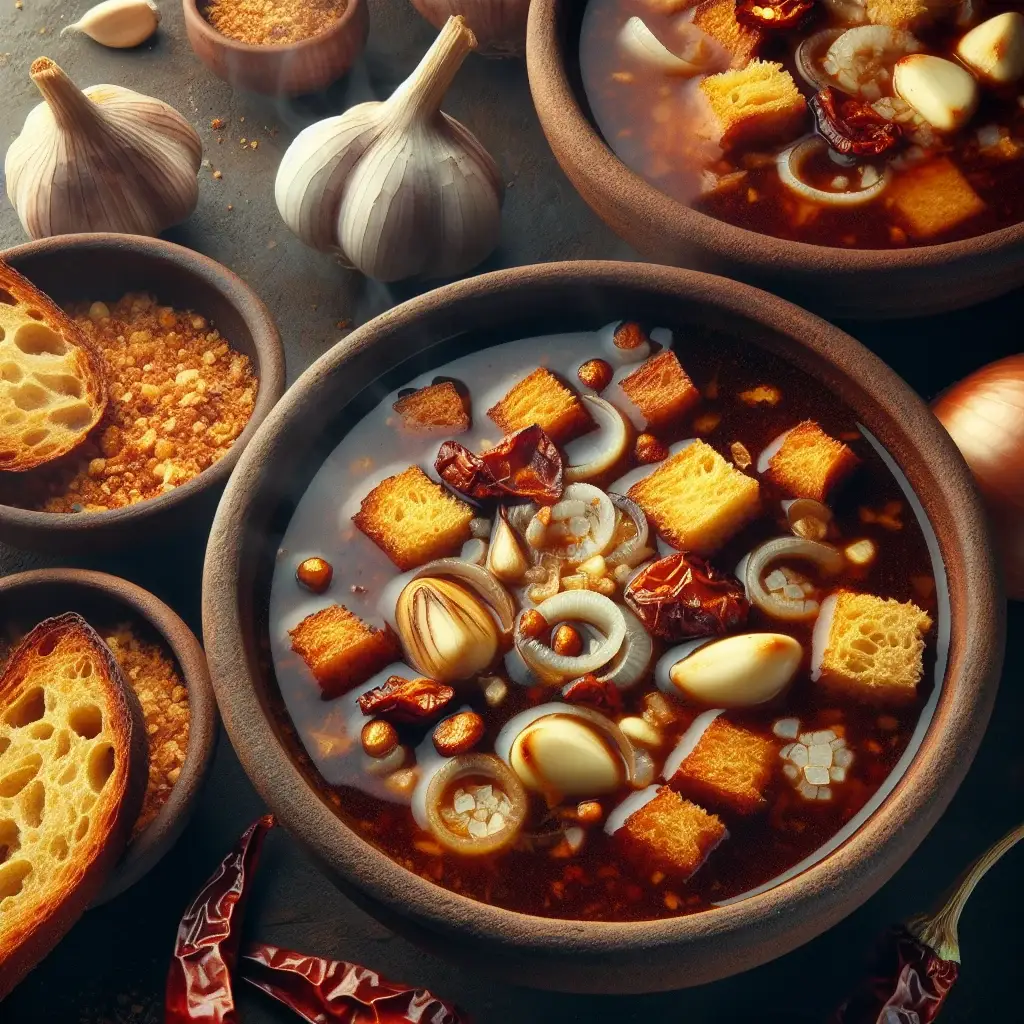
Soulful Mexican Roasted Garlic & Pasilla Chile Soup
Ingredients:
Instructions:
1. Prepare the Garlic
Preheat your oven to 400°F (200°C). Slice off the very top of the whole garlic head, exposing the cloves. Drizzle with a little oil, wrap in foil, and roast for 30-40 minutes, or until the cloves are soft and golden. Once cool enough to handle, squeeze the roasted garlic out of its skin and set aside.
2. Prepare the Chiles
Remove the stems and seeds from the dried pasilla chiles. Briefly toast them in a dry skillet over medium heat for about 30 seconds per side until fragrant (be careful not to burn them). Place the toasted chiles in a bowl and cover with hot water. Let them rehydrate for 15-20 minutes, or until soft. Drain, reserving some of the soaking liquid.
3. Prepare the Bread
In a large saucepan or pot, heat the vegetable oil over medium heat. Fry the bread slices until golden brown and crispy on both sides. Remove and set aside on a paper towel-lined plate.
4. Sauté Aromatics
In the same oil, add the chopped white onion and sauté until softened and translucent, about 5-7 minutes. Add the roasted garlic cloves and sauté for another 2 minutes.
5. Blend the Soup Base
In a blender, combine the rehydrated pasilla chiles, sautéed onion and garlic, and about 1 cup of the chicken broth. Blend until very smooth. If needed, add a little of the reserved chile soaking liquid to help it blend.
6. Cook the Soup
Strain the blended mixture through a fine-mesh sieve into the saucepan, pressing down on the solids to extract all the liquid. Discard the remaining solids. Add the remaining chicken broth to the strained mixture. Bring to a simmer over medium heat, stirring occasionally. Season with salt to taste.
7. Serve
Just before serving, crumble the fried bread into the soup bowls. Ladle the hot soup over the bread. If desired, garnish with fresh epazote sprigs. Serve immediately.
8. Optional garnish
Top with a dollop of sour cream or crumbled queso fresco if desired.
Warm your soul with this robust Mexican garlic soup, featuring the deep, smoky notes of pasilla chiles and abundant roasted garlic, a comforting classic that truly sings of home.

Garlic Butter Udon with Crispy Scallions
Ingredients:
Instructions:
1. Cook the Udon Noodles
Bring a pot of water to a boil. Add the udon noodles and cook according to package instructions until tender but still chewy. If using frozen udon, you can often just pour boiling water over them and let them sit for a few minutes. Drain well and set aside.
2. Prepare the Garlic Butter Sauce
While the noodles are cooking, melt the butter in a large non-stick skillet or wok over medium heat. Add the minced garlic and sauté for 1-2 minutes until fragrant and lightly golden. Be careful not to burn the garlic.
3. Combine Ingredients
Add the cooked and drained udon noodles to the skillet with the garlic butter. Pour in the soy sauce, mirin, and sugar. Toss everything together vigorously until the noodles are evenly coated with the sauce.
4. Serve
Transfer the garlic butter udon to serving bowls. Garnish generously with chopped green scallions and a sprinkle of toasted sesame seeds, if desired. Serve immediately and enjoy the garlicky goodness!
Dive into a savory and satisfying experience with this Japanese-inspired Garlic Butter Udon. Featuring plump noodles drenched in a rich, garlicky butter sauce and topped with crispy scallions, it’s a quick and delightful main course that truly lets the garlic shine. A perfect blend of comfort and bold flavor for any garlic enthusiast!

Sweet & Savory Italian Garlic Gold: A Luscious Jam
Ingredients:
Instructions:
1. Prepare the Garlic
Place the peeled garlic cloves in a small saucepan. Cover them with cold water and bring to a boil. Blanch for 2 minutes, then drain and rinse with cold water. Repeat this blanching process two more times (for a total of 3 blanchings). This mellows the garlic’s pungency.
2. Combine Ingredients
In the same saucepan, combine the blanched garlic cloves, granulated sugar, white wine vinegar, and 1/2 cup of fresh water. Add the salt and red pepper flakes (if using.)
3. Simmer
Bring the mixture to a gentle boil over medium heat, stirring occasionally to dissolve the sugar. Once boiling, reduce the heat to low and simmer, uncovered, for about 45-60 minutes, or until the liquid has thickened into a syrupy consistency and the garlic cloves are very tender and translucent. Stir more frequently towards the end to prevent sticking.
4. Blend (Optional)
For a smoother jam, carefully transfer the mixture to a food processor or use an immersion blender to pulse until desired consistency is reached. For a chunkier jam, mash some of the garlic cloves with a fork directly in the saucepan.
5. Cool and Store
Let the garlic jam cool completely. As it cools, it will thicken further. Transfer to sterilized jars. Store in the refrigerator for up to 2-3 weeks.
Discover a surprisingly delightful Italian condiment that transforms humble garlic into a sweet and tangy spread. Perfect for cheese boards, grilled meats, or simply spreading on crusty bread, this garlic jam is a must-try for any garlic enthusiast.
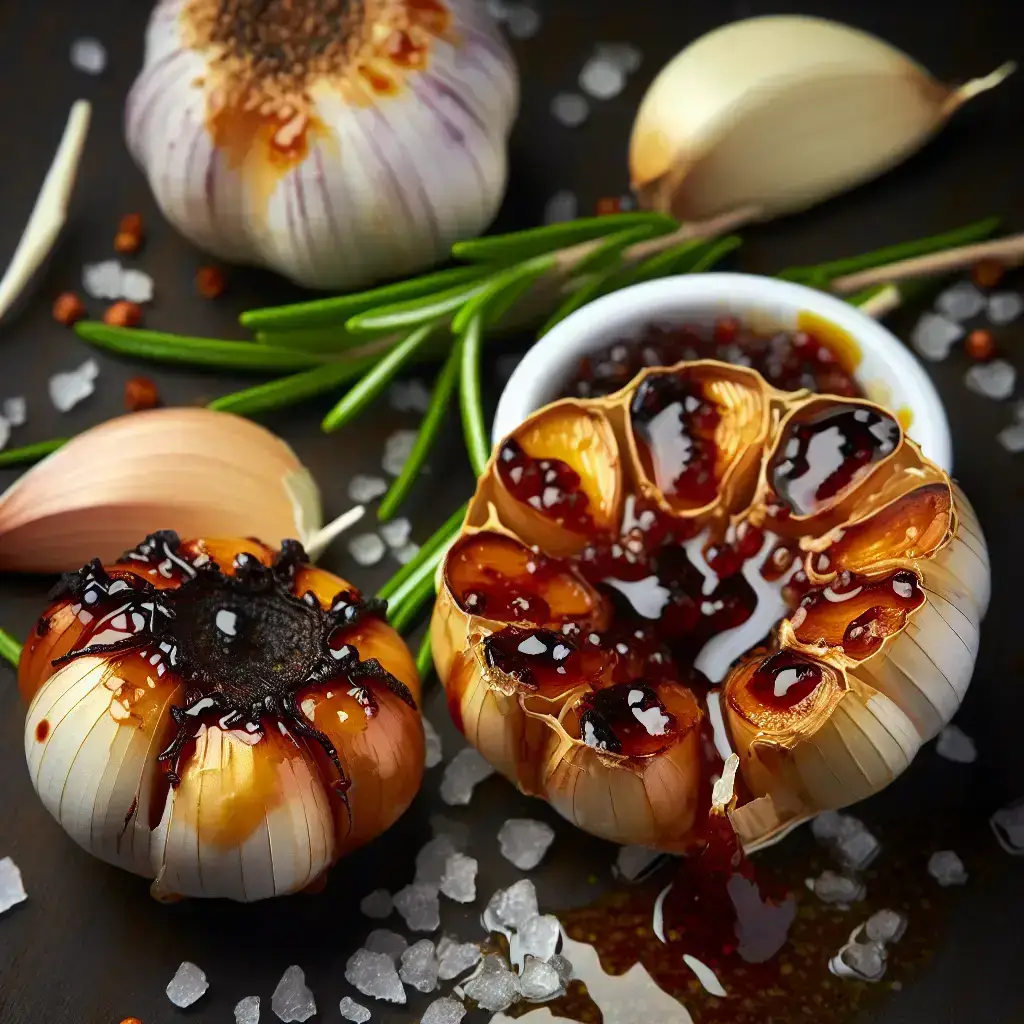
Aglio Arrosto al Balsamico: Italian Slow-Roasted Garlic with Rosemary
Ingredients:
Instructions:
1. Preheat Your Oven To 375
Preheat your oven to 375°F (190°C.)
2. Prepare the garlic heads
Remove any loose outer papery layers from the garlic heads, but keep the heads intact. Slice about ¼ inch off the top of each head, exposing the cloves.
3. Place The Garlic Heads In A Small
Place the garlic heads in a small, oven-safe baking dish or a piece of aluminum foil large enough to create a packet.
4. Drizzle The Olive Oil And Balsamic Vinegar Evenly
Drizzle the olive oil and balsamic vinegar evenly over the exposed garlic cloves.
5. Sprinkle The Chopped Fresh Rosemary
Sprinkle the chopped fresh rosemary, sea salt, and black pepper over the garlic.
6. Cover It Tightly With Foil
If using foil, wrap it tightly around the garlic heads to form a sealed packet. If using a baking dish, cover it tightly with foil.
7. Step
Roast for 45-60 minutes, or until the garlic cloves are very tender and lightly caramelized. The roasting time may vary depending on the size of the garlic heads.
8. Remove From The Oven And Let It Cool Slightly
Carefully remove from the oven and let it cool slightly.
9. Serve Warm With Crusty Bread
To serve, gently squeeze the roasted garlic cloves from their skins. They should be soft and spreadable. Serve warm with crusty bread, crackers, or use in other dishes.
Discover a culinary gem from Italy: beautifully slow-roasted garlic cloves, infused with aromatic rosemary and a tangy balsamic glaze. This simple yet sophisticated dish elevates the humble garlic to a delightful, spreadable delicacy, perfect for any garlic enthusiast.