The Garlic Table:
Recipes for Every Craving

Explore Garlic Shop Recipes
Wholesome Recipes with
a Garlic Punch
Ingredients:
Allspice, Bay Leaf, Bread, Butter, Caraway, Flour, Garlic, Mushroom, Onion, Paprika, Sauerkraut
Description:
A hearty, tangy mushroom gravy from Eastern Slovakia, perfect for dipping.

From the Sun-Kissed Shores of Goa: Aromatic Garlic & Coconut Prawn Curry
Ingredients:
Comfort Food, Curry, Garlic, Gluten-Free, Goan, Indian, Main Course, Prawn, Seafood, Spicy
Instructions:
1. Prepare the Masala Paste
In a blender, combine the fresh grated coconut, dried red chilies, garlic cloves, coriander seeds, cumin seeds, black peppercorns, tamarind, and turmeric powder. Add a small amount of water and grind everything to a smooth, fine paste. Set aside.
2. Sauté the Aromatics
Heat the coconut oil in a pan or pot over medium heat. Add the finely chopped ginger and onion and sauté until the onion becomes soft and translucent.
3. Cook the Base
Add the chopped tomato and a pinch of salt to help it break down. Cook until the tomatoes are soft and mushy.
4. Fry the Masala
Add the ground masala paste to the pan. Fry for 3-4 minutes, stirring continuously, until the raw smell disappears and the oil begins to separate from the paste.
5. Build the Curry
Pour in about 2-3 cups of water (you can rinse the blender jar with the water to get all the masala) and stir well to combine. Bring the curry to a boil.
6. Simmer and Finish
Once boiling, stir in the thick coconut milk. Let the curry return to a gentle simmer. Carefully add the cleaned prawns.
7. Cook the Prawns
Cook for just 2-4 minutes, or until the prawns turn pink and curl up. Be careful not to overcook them, as they can become tough.
8. Serve
Check for salt and adjust if necessary. Garnish with fresh coriander leaves and serve hot with steamed rice.
Dive into the heart of Indian coastal cuisine with this authentic Goan Prawn Curry. This dish is a garlic lover's dream, featuring a fragrant paste of fresh coconut, garlic, and whole spices, all simmered into a luscious, tangy curry. Perfect as a main course, it's a vibrant and comforting meal that showcases the unique flavors of Goa, guaranteed to transport your senses to a seaside paradise.
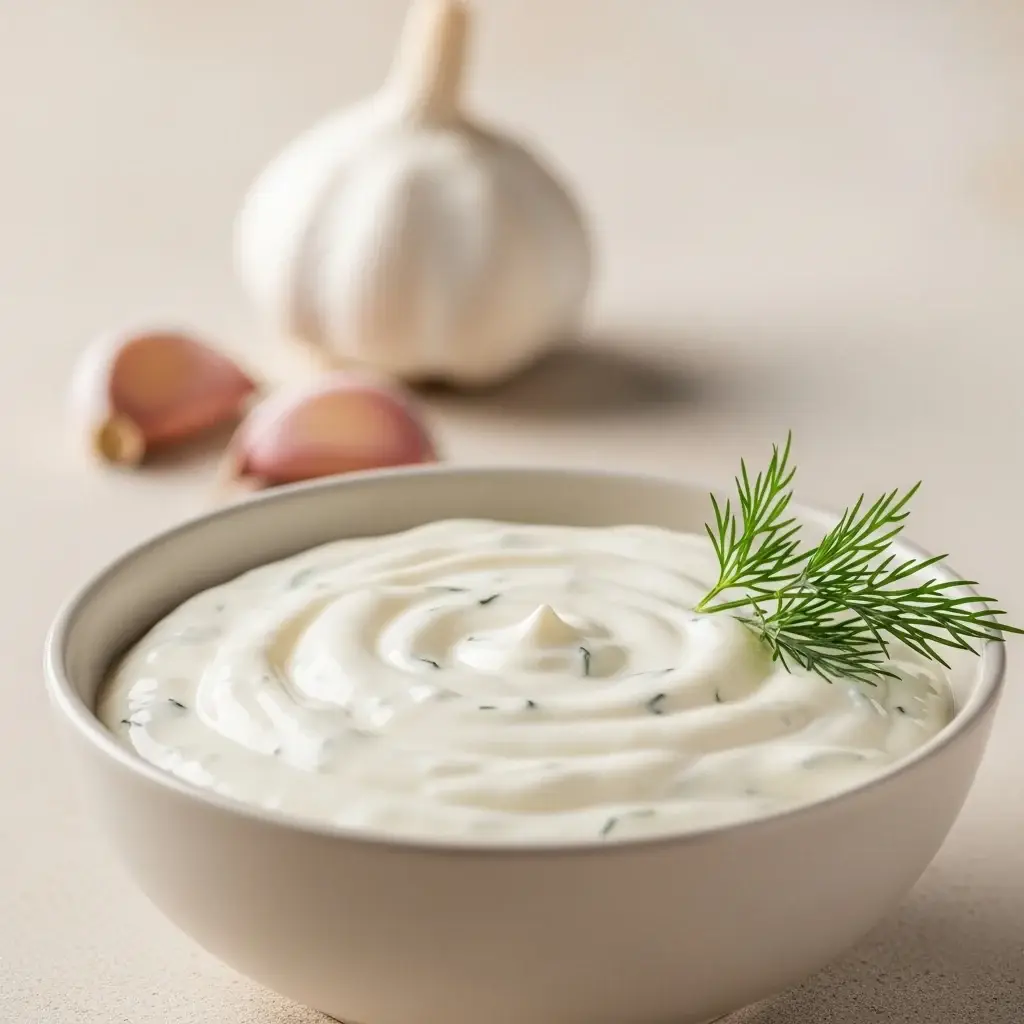
From the Heart of Romania: A Fiercely Creamy Garlic Sauce (Mujdei cu Smântână)
Ingredients:
Comfort Food, Condiment, Dip, Garlic, No-Cook, Quick, Romanian, Rustic, Sauce, Vegetarian
Instructions:
1. Prepare the Garlic
Peel all the garlic cloves. Using a mortar and pestle or a garlic press, crush the cloves with the coarse salt until you have a smooth, consistent paste. This step is crucial for releasing the garlic’s essential oils.
2. Create the Emulsion
Transfer the garlic paste to a small bowl. Begin adding the sunflower oil, a few drops at a time, whisking vigorously and continuously as if you were making mayonnaise. The mixture will start to thicken and become a creamy, airy emulsion.
3. Fold in the Creaminess
Once the oil is fully incorporated, gently fold in the sour cream with a spoon until the sauce is smooth and well-combined.
4. Season and Serve
Season with a touch of freshly ground black pepper and, if you like a tangier sauce, stir in the optional vinegar or lemon juice. Garnish with fresh herbs if desired. Let the sauce sit for about 10 minutes for the flavors to meld, then serve alongside grilled meats, fish, roasted vegetables, or simply with fresh bread.
Mujdei (pronounced mooj-day) is more than just a sauce in Romania; it's a culinary institution. This beloved garlic concoction, found on nearly every table, is the perfect, pungent partner to everything from grilled meats and fish to simple boiled potatoes. At the Garlic Shop, we're celebrating the Transylvanian twist on this classic: a rich, creamy version made with sour cream that softens the garlic's bite while amplifying its soulful flavor. Easy to whip up and impossible to forget, this sauce is your new secret weapon.
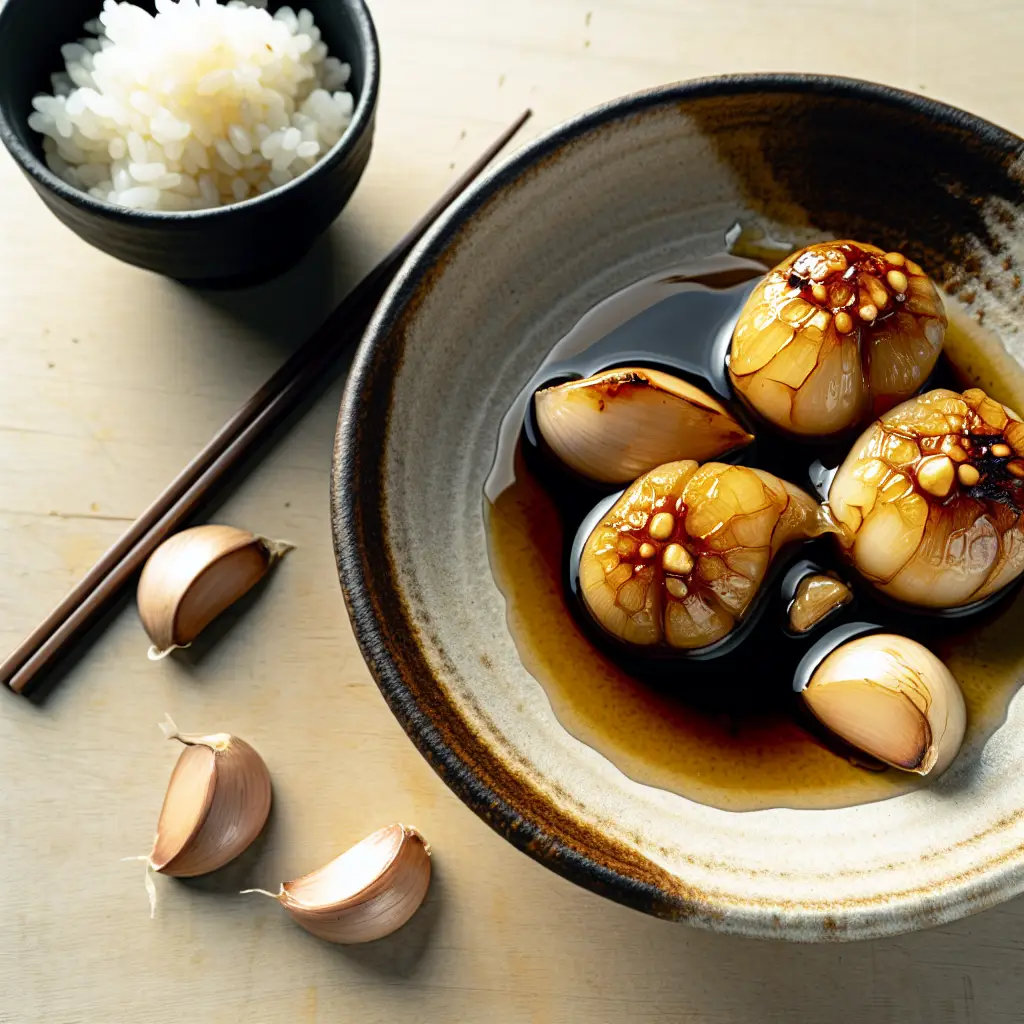
From the Izakaya to Your Kitchen: Umami-Packed Miso Braised Garlic
Ingredients:
Instructions:
1. Prepare the Garlic
First, prepare the garlic cloves. If there are any green sprouts in the center, it's best to slice the cloves in half lengthwise and remove them to avoid bitterness. For any particularly large cloves, chop them in half. Place the prepared cloves in a bowl of water for about 5 minutes, then drain them well.
2. Fry the Garlic
Add a neutral oil to a pan over medium heat. Once warm, add the garlic cloves and stir-fry until they become golden brown all over.
3. Braise
In a small bowl, mix the miso paste with the water to create a slurry. Add the sake, mirin, and soy sauce to the pan with the garlic and cook for about 45 seconds. Then, add the miso mixture and the optional sliced chili peppers.
4. Reduce
Continue to cook, stirring gently, until the garlic has absorbed most of the sauce and it has thickened to a glaze.
5. Finish and Serve
Turn off the heat. Drizzle with sesame oil and sprinkle with sesame seeds. Serve the Miso Braised Garlic immediately, for instance alongside a bowl of fresh rice, and enjoy.
Dive into a truly unique Japanese side dish that transforms humble garlic cloves into savory, umami-rich jewels. This recipe for Miso Braised Garlic, often found in cozy Izakayas (Japanese pubs), is the perfect accompaniment to a bowl of steamed rice or your favorite grilled dish. By slowly braising them in a sweet and savory blend of miso, sake, and mirin, the garlic cloves become tender and mellow, absorbing all the delicious flavors of the sauce. It's a simple, elegant, and deeply satisfying way to celebrate the garlic bulb, creating a memorable dish that is both a fantastic side and a great option for meal prepping.
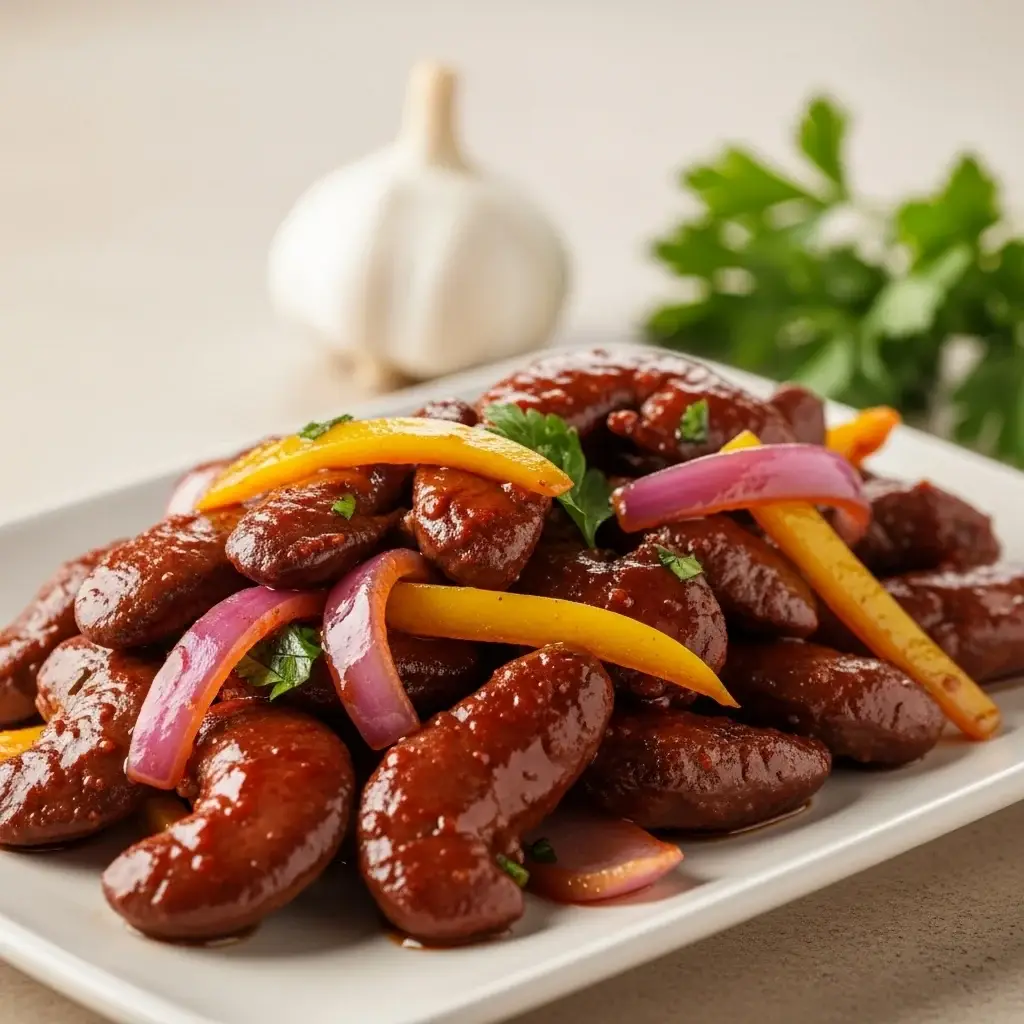
From the Streets of Lima: A Bold & Garlicky Sautéed Kidney (Riñones Saltado)
Ingredients:
Instructions:
1. Prepare the Kidney
The key to delicious kidneys is proper cleaning. First, remove the outer membrane and trim away any white parts from the center of the kidney. Slice the kidney into bite-sized pieces or strips. Place the pieces in a bowl and cover with water, the 1/2 cup of vinegar, and a generous pinch of salt. Let them soak for at least 2 hours, though some recipes suggest up to 4 hours to effectively remove the strong odor. After soaking, rinse the kidneys thoroughly under cold water several times until the water runs clear, then pat them dry.
2. Sauté the Kidney
Heat a large skillet or wok over high heat with a small amount of oil. Once very hot, add the kidney pieces and sauté quickly for just a minute or two until they change color. Do not overcook them, as they will become tough. Remove the kidneys from the pan and set them aside.
3. Cook the Sauce
In the same skillet, add the remaining oil and heat over medium heat. Add the onion, minced garlic, ají panca paste, ají amarillo paste, and ají amarillo strips. Sauté for a few minutes until the onion begins to soften. Season with salt, pepper, cumin, and oregano.
4. Combine and Finish
Add the bay leaf and the remaining tablespoon of vinegar to the skillet, stirring to combine. Return the sautéed kidneys to the pan. Toss everything together for about a minute, just long enough to heat the kidneys through and coat them in the sauce. The goal is to keep the onions crisp.
5. Serve
Remove the bay leaf, stir in the fresh chopped parsley, and serve immediately. This dish is traditionally served hot with a side of fluffy white rice and crispy french fries.
Discover a beloved classic from the heart of Peru, where bold flavors and garlic take center stage. This "Riñones Saltado" is a fast, flavorful, and fiery sauté, perfect for the adventurous foodie. It’s a testament to Peru’s Creole cuisine, delivering a satisfying and deeply savory dish that’s big on garlic and personality.
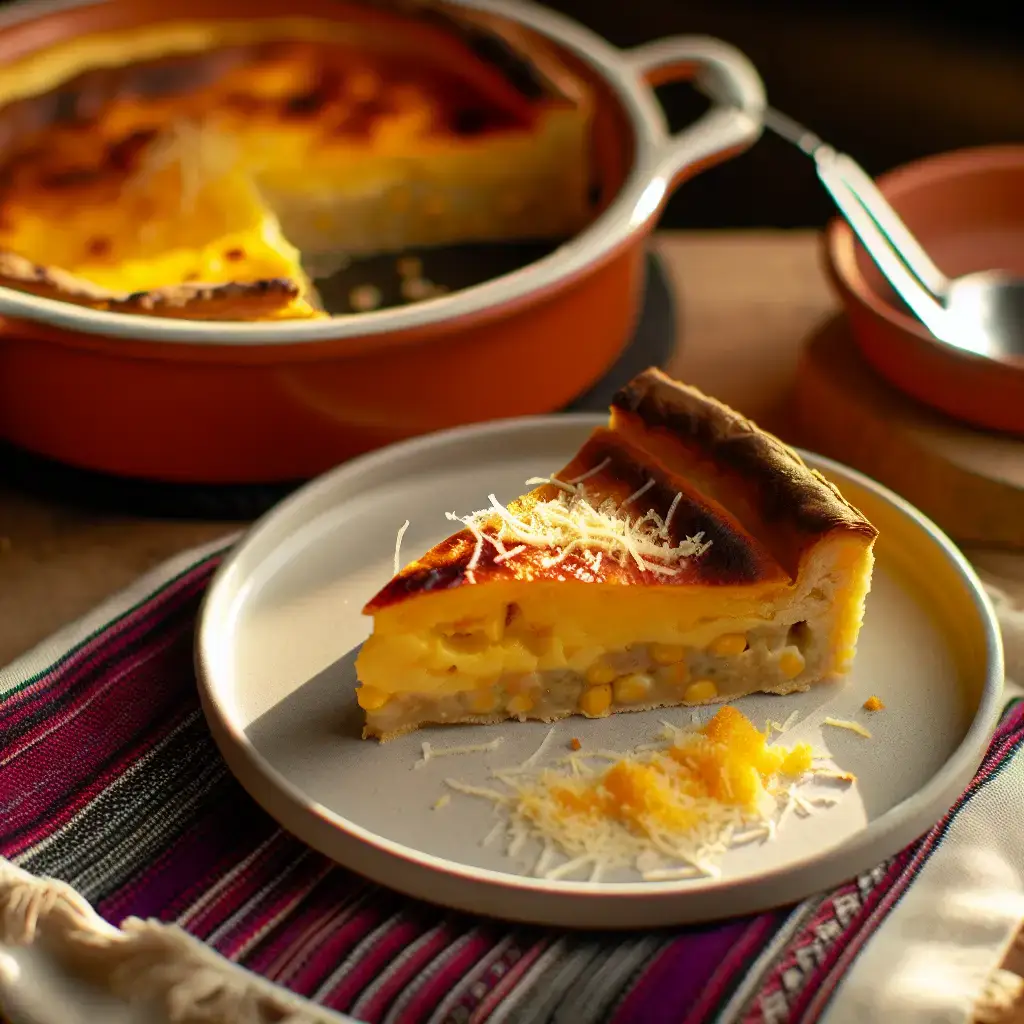
From the Sacred Valley: Peru’s Savory & Garlicky Corn Pie (Pastel de Choclo con Ajo)
Ingredients:
Baked, Comfort Food, Corn, Garlic, Main Course, Peru, Pie, Savory, Vegetarian
Instructions:
1. Sauté the Aromatics
Melt the butter in a large skillet or pot over medium heat. Add the chopped onion and cook until soft and translucent, about 5-7 minutes. Add the minced garlic and aji amarillo paste and cook for another two minutes until fragrant. Remove from heat and let it cool slightly.
2. Prepare the Corn Mixture
In a blender, combine the corn kernels, milk, fresh basil, and the cooked onion and garlic mixture. Blend until you have a thick, creamy paste. You may need to do this in batches.
3. Cook the Corn Paste
Pour the blended corn mixture into a large pot. Cook over medium-low heat, stirring constantly with a wooden spoon to prevent it from sticking. Cook for about 10-15 minutes, or until the mixture thickens and has a deeper yellow color. Season with salt and pepper.
4. Finish the Mixture
Remove the pot from the heat and let it cool for a few minutes. Stir in the egg yolks one at a time. In a separate bowl, beat the egg whites until stiff peaks form. Gently fold the beaten egg whites into the corn mixture until just combined.
5. Assemble the Pie
Preheat your oven to 180°C (350°F). Grease a 9×13 inch baking dish or individual ramekins. Pour half of the corn mixture into the dish. Arrange the slices or cubes of queso fresco over the top.
6. Bake to Perfection
Pour the remaining corn mixture over the cheese, smoothing the top with a spatula. Sprinkle the grated Parmesan cheese and a little sugar (if using) over the surface. Bake for 40-45 minutes, or until the pie is set and the top is golden brown and bubbly.
7. Rest and Serve
Let the Pastel de Choclo rest for at least 10 minutes before slicing and serving. This allows it to set properly. Enjoy it warm.
Discover a treasure from the heart of Peru with this savory corn and garlic pie. Sweet corn is blended with a generous amount of garlic and aji amarillo, then baked to golden perfection with a gooey cheese center. A true taste of Andean comfort food!
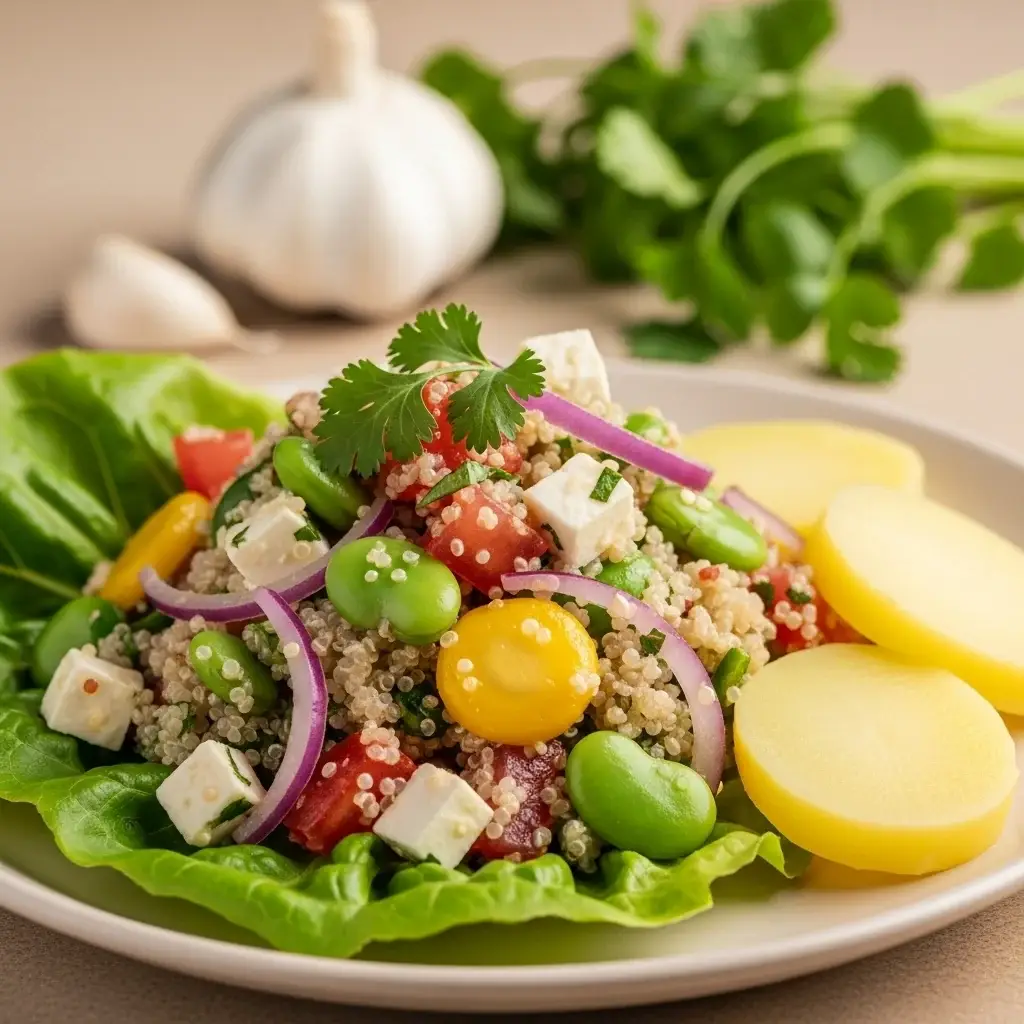
From the High Andes: A Zesty Peruvian Quinoa & Garlic Salad (Solterito de Quinua)
Ingredients:
Garlic, Gluten-Free, Healthy, Peru, Quick, Quinoa, Salad, Starter, Summer, Vegetarian
Instructions:
1. Cook The Quinoa By Combining It With Water
First, cook the quinoa by combining it with water or broth and half of the minced garlic in a small pot. Bring to a boil, then reduce the heat, cover, and simmer for about 15-20 minutes, or until the liquid is absorbed and the quinoa is fluffy. Once cooked, fluff it with a fork and set aside to cool completely.
2. Combine The Cooled Quinoa
In a large bowl, combine the cooled quinoa, fava beans, choclo, diced red onion, tomatoes, rocoto pepper, queso fresco, and chopped cilantro.
3. Prepare The Dressing By Whisking Together The Olive Oil
In a separate small bowl, prepare the dressing by whisking together the olive oil, lime juice, the remaining minced garlic, salt, and pepper.
4. Pour The Dressing Over The Quinoa Mixture And Toss
Pour the dressing over the quinoa mixture and toss gently to combine all the ingredients well.
5. Let The Salad Chill In The Refrigerator For About
For the best flavor, let the salad chill in the refrigerator for about 30 minutes.
6. Serve The Solterito De Quinua Over A Bed
Serve the Solterito de Quinua over a bed of lettuce leaves, accompanied by slices of boiled potato.
Discover the fresh taste of the Andes with this delightful Peruvian Quinoa Salad, a modern twist on the classic "Solterito." Perfect for garlic lovers, this light yet satisfying starter combines fluffy quinoa, crisp vegetables, and creamy cheese, all brought together with a zesty, garlic-infused lime dressing. It’s a healthy, gluten-free dish that’s bursting with flavor and texture.