The Garlic Table:
Recipes for Every Craving

Explore Garlic Shop Recipes
Wholesome Recipes with
a Garlic Punch
Ingredients:
Aji Amarillo, Bell Pepper, Black Clam, Chicha De Jora, Cilantro, Corn, Garlic, Onion, Peas, Rice
Description:
Dive into the heart of Northern Peruvian cuisine with this iconic garlicky rice dish. Arroz con Conchas Negras gets its signature dark color and intense, briny flavor from fresh black clams, all brought together with a classic garlic-chile sofrito.
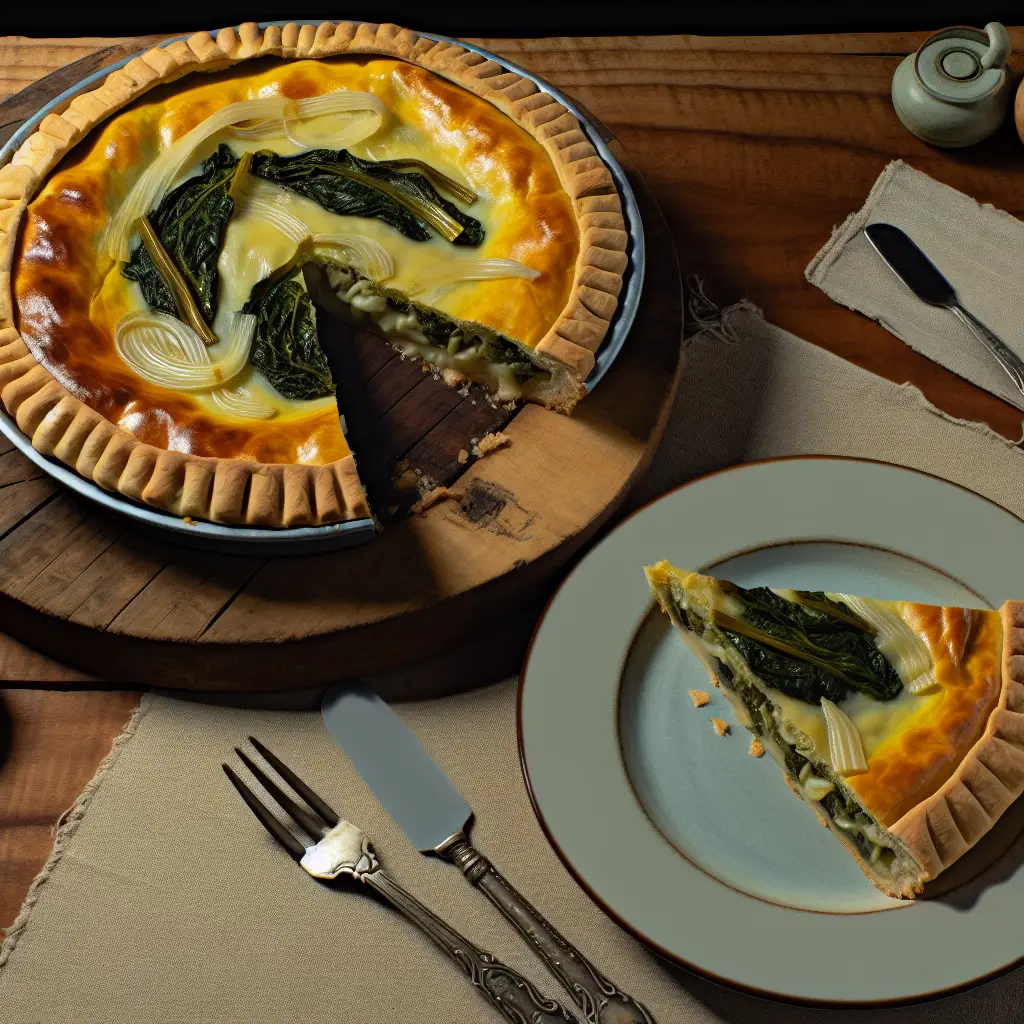
A Hearty Swiss Chard & Garlic Pie (Pastel de Acelga)
Ingredients:
Baked, Chard, Comfort Food, Garlic, Main Course, Pastry, Peru, Pie, Savory, Vegetarian
Instructions:
1. Prepare the Chard
Wash the swiss chard leaves thoroughly. Blanch them in a large pot of boiling water for about 30 seconds, then immediately transfer to a colander and rinse with cold water to stop the cooking process. Squeeze out as much excess water as possible and set aside.
2. Sauté the Aromatics
In a large skillet or pot, heat the olive oil over medium heat. Add the chopped onion and cook until softened and translucent, about 5-7 minutes. Add the minced garlic and cook for another 1-2 minutes until fragrant.
3. Make the Béchamel Base
In a separate saucepan, melt the 3 tablespoons of butter over medium heat. Whisk in the flour to form a roux and cook for one minute. Gradually pour in the warm milk, whisking constantly to prevent lumps, until the sauce is smooth and thickened. Remove from heat and stir in the Parmesan cheese, nutmeg, salt, and pepper.
4. Combine the Filling
Add the blanched chard to the skillet with the onions and garlic. Pour the béchamel sauce over the chard and stir everything together until well combined. Remove from the heat and allow the mixture to cool slightly.
5. Assemble the Pie
Preheat your oven to 400°F (200°C). Line a 9-inch pie dish with one of the pie crusts. Spread the cooled chard filling evenly into the crust.
6. Add the Eggs
Create four indentations in the surface of the filling with the back of a spoon. Carefully crack one raw egg into each hole.
7. Top and Bake
Cover the pie with the second crust. Trim and crimp the edges to seal. Brush the top of the pie with the beaten egg wash and make a few small slits in the top to allow steam to escape.
8. Bake
Place the pie on a baking sheet and bake for 30-40 minutes, or until the crust is golden brown and the filling is bubbly.
9. Rest and Serve
Let the pie cool for at least 15-20 minutes before slicing and serving. This allows the filling to set properly.
Inspired by Italian immigrants, this savory pie is a beloved staple in Peruvian homes and bakeries. Our version puts garlic at the forefront, creating a rich, aromatic base for the earthy chard and creamy cheese filling, all encased in a flaky, buttery crust.
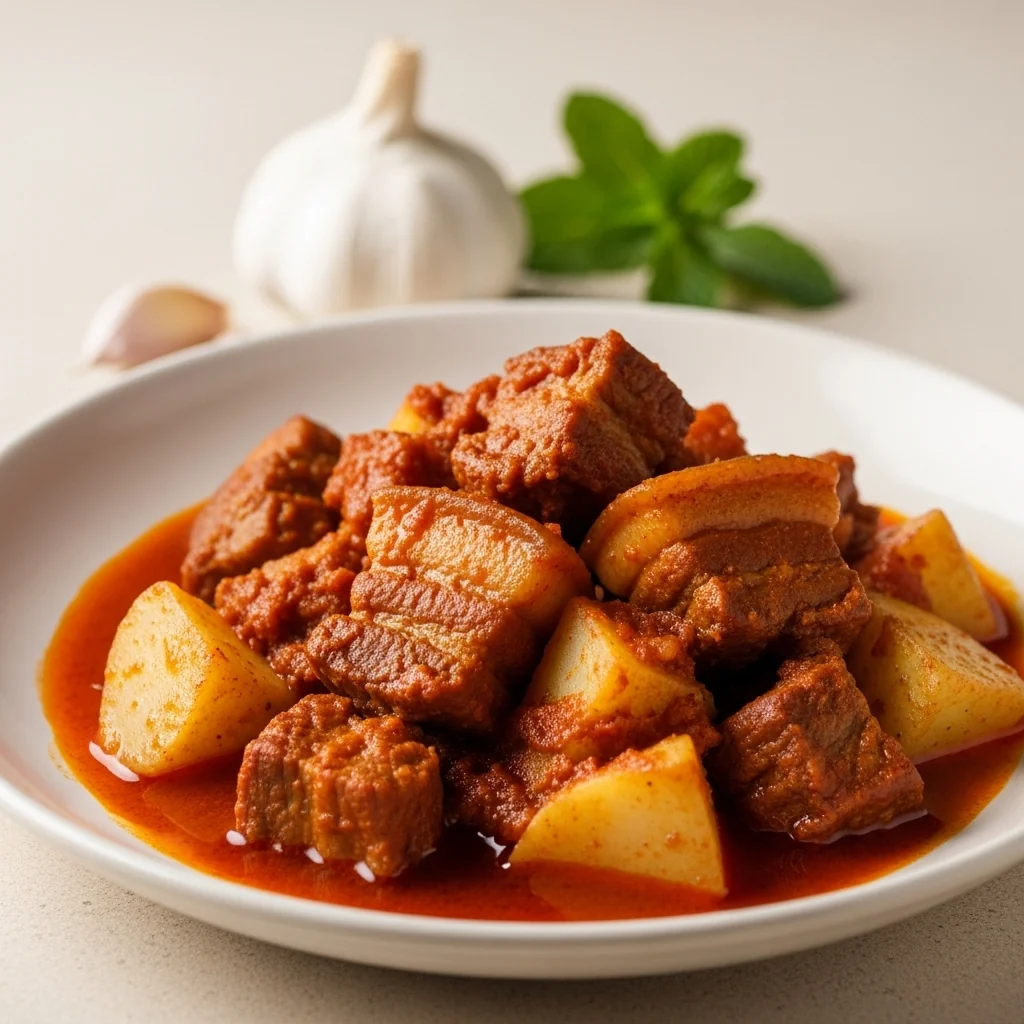
From the Andes: Peru’s Fiery Red Garlic & Potato Stew (Puca Picante)
Ingredients:
Andean, Comfort Food, Main Course, One-Pot, Peru, Pork, Rustic, Spicy, Stew
Instructions:
1. Prepare the Pork
Season the pork belly chunks generously with salt and pepper. In a large, heavy-bottomed pot or dutch oven, fry the pork in a little oil or its own rendered fat until golden brown and crispy on all sides. Remove the pork from the pot and set it aside.
2. Make the Aderezo
In the same pot, add the finely chopped onions and cook until soft and translucent. Add the minced garlic, ají panca paste, and ground cumin. Cook this base, stirring occasionally, for about 10 minutes until it darkens in color and becomes fragrant.
3. Create the Red Sauce
While the aderezo cooks, peel the beets and blend them with the toasted peanuts and a little water or stock until you have a smooth purée.
4. Combine the Stew
Pour the beet and peanut purée into the pot with the aderezo. Stir well to combine. Return the cooked pork to the pot, then add the cubed potatoes, the mint sprigs, and enough stock to cover the ingredients.
5. Simmer
Bring the stew to a boil, then reduce the heat to a simmer. Cover and cook for 25-30 minutes, or until the potatoes are tender and the sauce has thickened. The peanuts and potatoes will help to naturally thicken the stew. Remove the mint sprigs before serving.
6. Serve
Serve the Puca Picante hot, traditionally accompanied by white rice and a fresh onion salad (salsa criolla).
A vibrant, spicy stew that's a true taste of the Peruvian highlands.
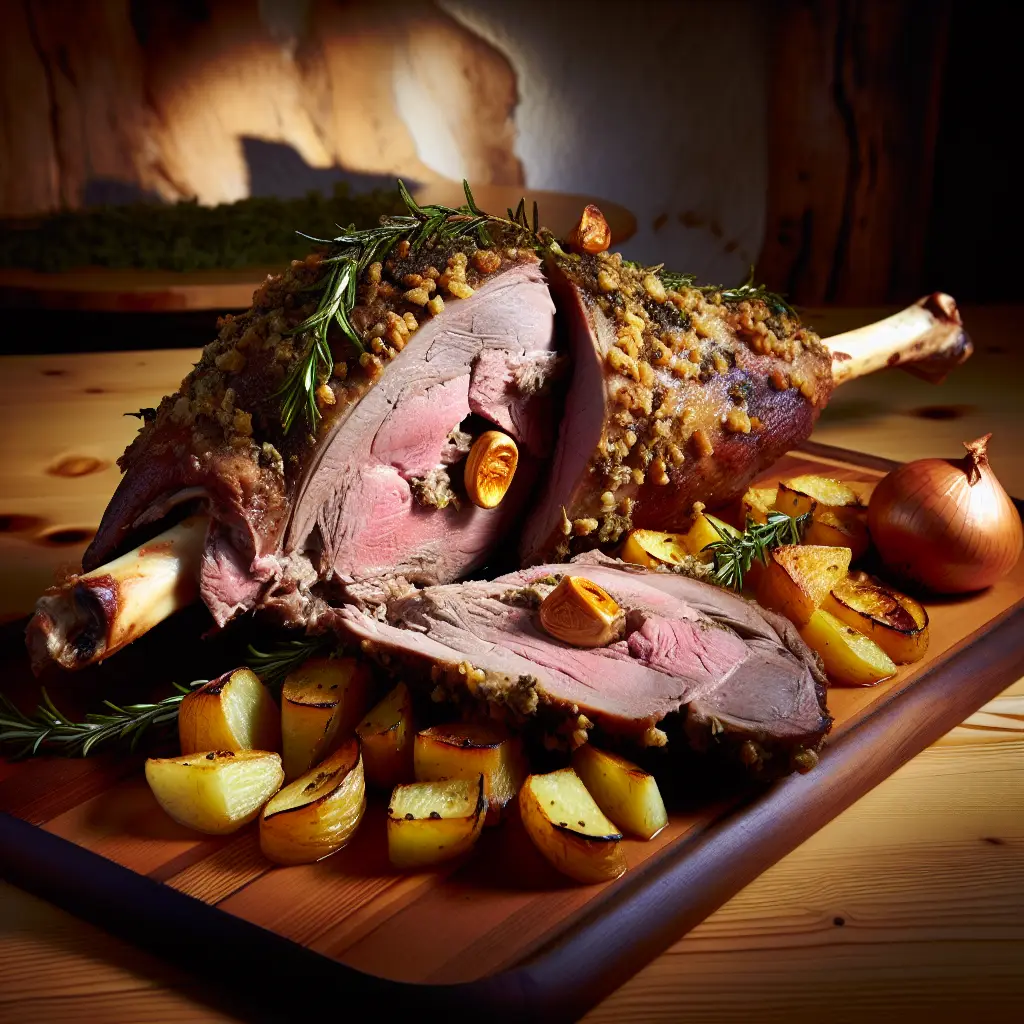
A Festive Feast: Slovakia’s Hearty Roasted Lamb with Garlic (Jahňacie stehno na cesnaku)
Ingredients:
Instructions:
1. Prepare the Lamb
Begin by patting the leg of lamb dry with paper towels. Using the tip of a sharp knife, make deep incisions all over the surface of the meat.
2. Infuse with Garlic
Take the peeled garlic cloves and cut the larger ones in half lengthwise. Insert a piece of garlic deep into each incision you made in the lamb. If you have any leftover garlic, finely chop it and set aside.
3. Season the Meat
In a small bowl, combine the chopped rosemary leaves, caraway seeds, a generous amount of salt, and black pepper. Rub this mixture all over the entire surface of the lamb, making sure to press it into the meat. If you had leftover chopped garlic, mix it with the melted lard or oil and brush it over the lamb. For the best flavor, cover the lamb and let it marinate in the refrigerator overnight, or for at least 4 hours.
4. Prepare for Roasting
Preheat your oven to 425°F (220°C). Scatter the prepared potatoes, carrots, and onions in the bottom of a large roasting pan. Place the marinated leg of lamb on top of the vegetables. Pour the water or broth into the bottom of the pan.
5. Roast the Lamb
Place the roasting pan in the preheated oven and roast for 20 minutes to get a nice initial sear. Then, reduce the oven temperature to 350°F (180°C). Continue to roast for approximately 2 to 2.5 hours, basting the lamb with the pan juices every 30 minutes. The lamb is done when it is tender and the internal temperature reaches 145°F (63°C) for medium.
6. Rest and Serve
Once cooked to your liking, carefully remove the lamb from the pan and transfer it to a cutting board. Tent it loosely with aluminum foil and let it rest for 15-20 minutes before carving. This allows the juices to redistribute, ensuring a moist and tender result. Serve the carved lamb with the roasted vegetables from the pan.
Discover a rustic Slovak classic perfect for any celebration. This recipe for roasted leg of lamb, generously studded with garlic and aromatic herbs, creates a succulent and deeply flavorful main course. It's a garlic lover's dream and a hearty, unforgettable dish that brings the taste of the Slovak mountains to your table.
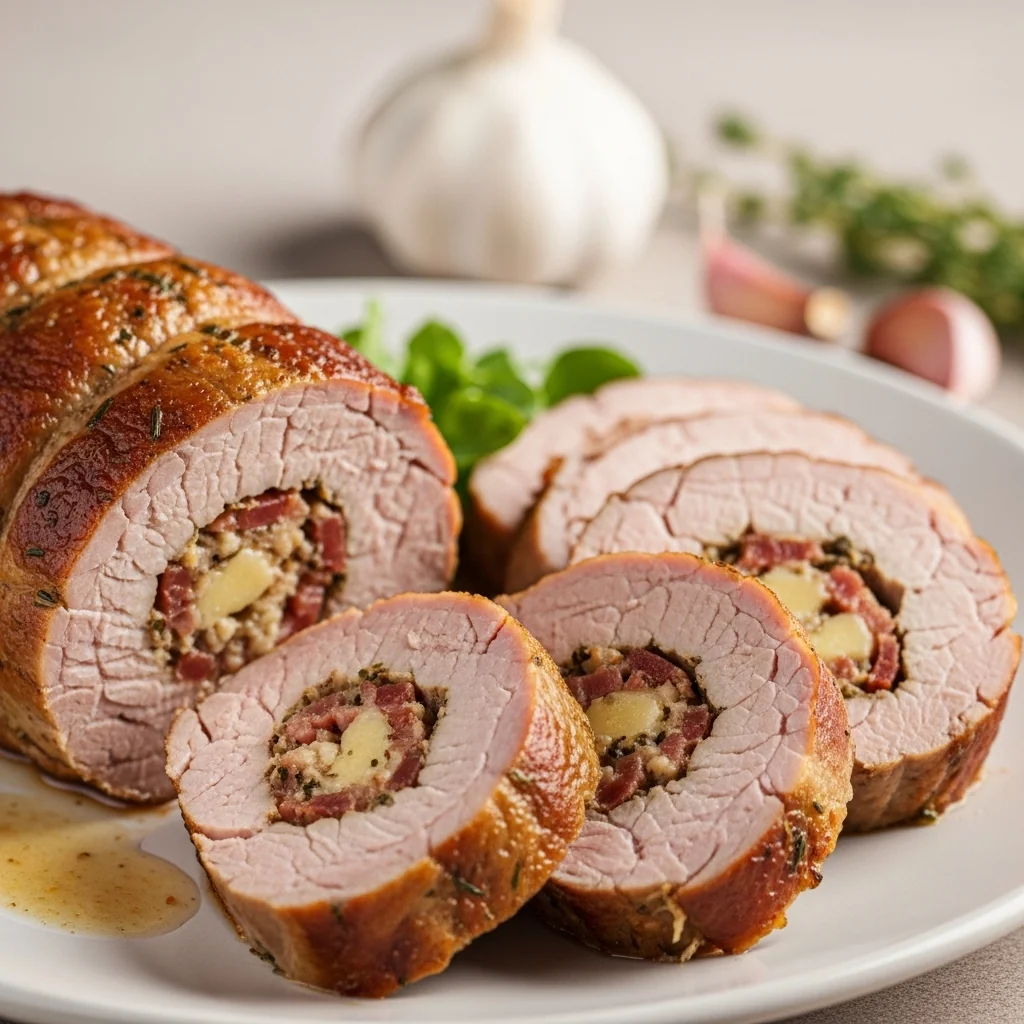
A Slovakian Centerpiece: Tender Garlic & Bacon-Stuffed Pork Tenderloin (Plnená Bravčová Panenka)
Ingredients:
Instructions:
1. Prepare the Pork
First, pat the pork tenderloin dry with paper towels. Using a long, sharp knife, carefully make a lengthwise incision down the center of the tenderloin, cutting about two-thirds of the way through to create a pocket for the stuffing. Be careful not to cut all the way through. Open the tenderloin like a book and gently pound it to a more even thickness.
2. Create the Filling
In a small bowl, combine the finely diced smoked bacon, grated cheese, and minced garlic. Mix well until everything is evenly distributed.
3. Stuff and Secure the Tenderloin
Season the inside of the pork pocket with salt and pepper. Spread the Dijon mustard evenly over the inner surface. Firmly pack the bacon and garlic mixture into the pocket along its entire length. Fold the tenderloin back to its original shape, enclosing the stuffing completely. Secure the stuffed tenderloin at regular intervals with kitchen twine to ensure it holds its shape and the filling stays inside during cooking.
4. Sear the Pork
Season the outside of the tenderloin with salt, pepper, and caraway seeds, if using. Heat the lard or oil in a large, oven-safe skillet over medium-high heat. Carefully place the tenderloin in the hot pan and sear it for 2-3 minutes on all sides until it is beautifully golden brown. This step is crucial for developing flavor and a delicious crust.
5. Roast to Perfection
Preheat your oven to 375°F (190°C). Transfer the skillet with the seared tenderloin directly into the preheated oven (or move the pork to a baking dish if your skillet is not oven-safe). Roast for 20-25 minutes, or until the pork is cooked through. The internal temperature should reach 145°F (63°C) for a slightly pink, juicy center. Be careful not to overcook it, as tenderloin can dry out quickly.
6. Rest and Serve
Once cooked, remove the tenderloin from the oven and let it rest on a cutting board for at least 10 minutes. This allows the juices to redistribute throughout the meat, ensuring it is moist and tender. After resting, remove the kitchen twine, slice the tenderloin into thick medallions, and serve immediately. It pairs wonderfully with roasted potatoes and a simple green salad.
A succulent pork tenderloin with a savory garlic and bacon surprise tucked inside.

A Taste of the Sierra: Mexico’s Hearty Garlic & Wine Goat Stew (Cabrito en Salsa de Ajo)
Ingredients:
Comfort Food, Garlic, Goat, Main Course, Mexican, One-Pot, Rustic, Spicy, Stew
Instructions:
1. Tenderize the Goat
Place the goat pieces in a large, heavy-bottomed pot. Add one half of the onion, the entire head of garlic, the bay leaves, and a generous pinch of salt. Cover completely with water and bring to a boil. Reduce the heat to a simmer and cook for about 2.5 to 3 hours, or until the meat is very tender. Once cooked, remove the goat meat from the pot and set it aside. Strain and reserve the cooking broth.
2. Prepare the Garlic Sauce
While the goat is cooking, boil the tomatoes in a separate pot until they are soft. Transfer the cooked tomatoes to a blender. Add the remaining 5 cloves of garlic, the cumin, oregano, allspice, and a pinch of salt. Blend until you have a smooth, well-integrated sauce.
3. Assemble the Stew
In a large, heavy-bottomed pan or traditional clay cazuela, melt the pork lard over medium-high heat. Carefully add the cooked goat pieces and brown them on all sides. Add the remaining half of the onion (now sliced) and the sliced bell peppers to the pan. Sauté for about 5 minutes, until the vegetables begin to soften.
4. Simmer and Serve
Pour the blended garlic-tomato sauce over the goat and vegetables. Stir everything together gently and bring to a simmer. Reduce the heat to medium-low and let the stew cook for at least 15-20 minutes, allowing the flavors to meld together beautifully. Taste and adjust the seasoning with salt and pepper if needed. Serve hot in deep bowls, accompanied by warm corn tortillas to soak up the delicious sauce.
A rich, rustic stew where tender goat meets a bold, garlicky tomato and chile sauce.
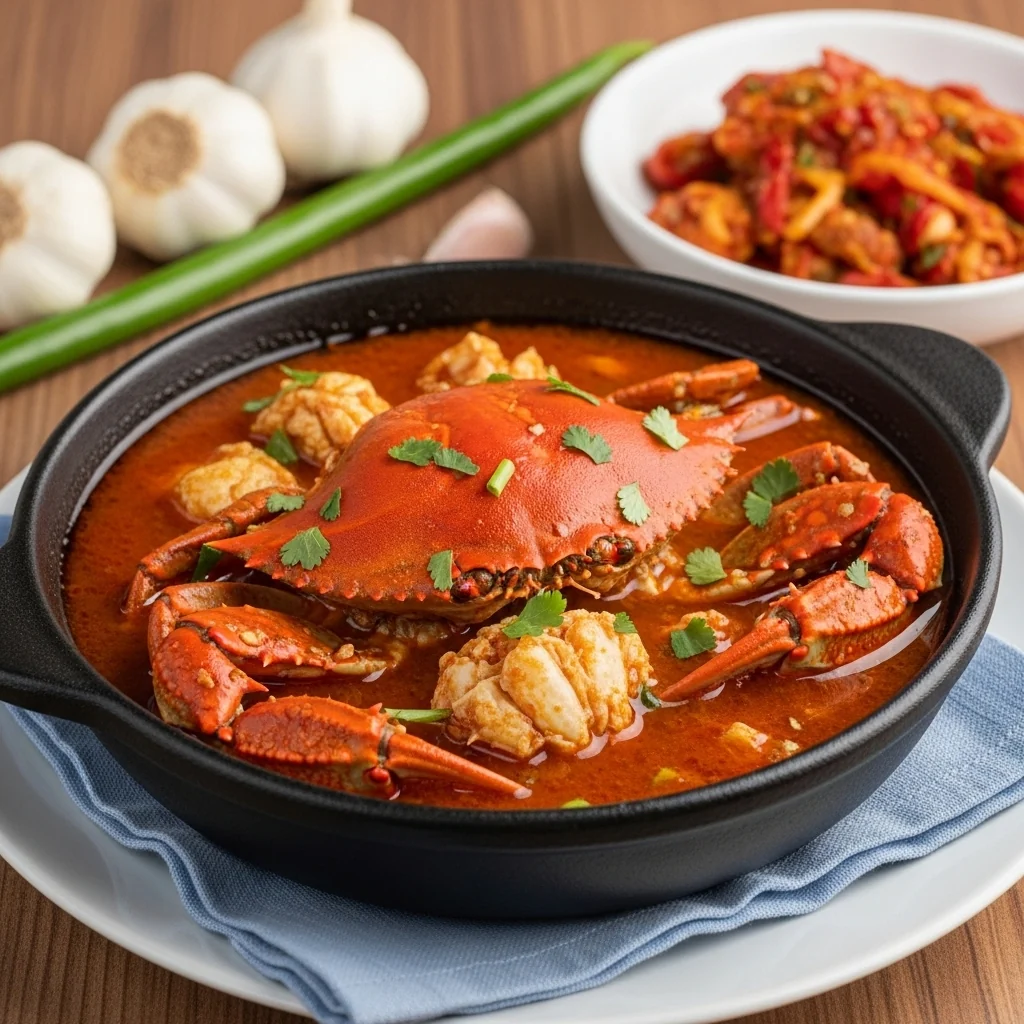
From the Coast of Veracruz: A Fiery Garlic & Crab Stew (Chilpachole de Jaiba)
Ingredients:
Instructions:
1. Roast the Vegetables and Chiles
On a dry comal or skillet over medium-high heat, roast the tomatoes, onion, and garlic, turning occasionally until they are lightly blackened and softened. In the same skillet, toast the dried ancho and chipotle chiles for about 30-60 seconds per side until fragrant, being careful not to burn them.
2. Soak the Chiles
Place the toasted chiles in a bowl and cover with hot water. Let them soak for about 20-30 minutes until they are soft and pliable.
3. Prepare the Broth Base
Once softened, drain the chiles and add them to a blender along with the roasted tomatoes, onion, and garlic. Pour in about a cup of the fish broth and blend until completely smooth.
4. Cook the Base
Heat the oil or lard in a large Dutch oven or heavy-bottomed pot over medium heat. Strain the blended chile mixture into the pot and cook, stirring frequently, for about 8-10 minutes, until the sauce darkens in color and thickens.
5. Simmer the Stew
Pour the remaining 5 cups of fish broth into the pot. Add the sprigs of epazote and bring the mixture to a simmer. If using whole crabs, add them to the pot, reduce the heat to low, cover, and let it cook for about 15-20 minutes, or until the crabs turn bright red.
6. Thicken the Stew
In a small bowl, whisk the masa harina with a cup of the hot broth until no lumps remain. Slowly pour this mixture back into the simmering stew, stirring constantly to prevent lumps from forming.
7. Finish and Serve
Continue to simmer for another 10-15 minutes, allowing the broth to thicken. Stir in the fresh crabmeat and cook for another 2-3 minutes until heated through. Season generously with salt and pepper. Serve the Chilpachole hot, garnished with a sprinkle of fresh onion, cilantro, and a generous squeeze of lime juice.
Originating from the coastal state of Veracruz, Chilpachole is a traditional, soul-warming stew renowned for its spicy kick and rich, savory broth. This garlic-forward version features tender crab meat swimming in a thick, crimson broth made from roasted tomatoes and a blend of chiles, all brought together with the unique addition of masa harina. It's the perfect dish to transport your senses to the shores of the Gulf of Mexico.