The Garlic Table:
Recipes for Every Craving

Explore Garlic Shop Recipes
Wholesome Recipes with
a Garlic Punch
Ingredients:
Chili, Garlic, Lemon, Oil, Salt
Description:
For those who believe that a meal isn't complete without a kick of heat and a punch of garlic, this Mauritian Piment Crazé is your new secret weapon. Hailing from the vibrant, multicultural island of Mauritius, this condiment is a staple in every local kitchen. It’s a crush of fresh chilies and garlic, balanced with a zing of lemon and preserved in oil, ready to electrify everything from fried noodles to grilled fish.
From Moldova, With Love: A Creamy & Potent Garlic Sauce (Mujdei)
Ingredients:
Instructions:
1. Prepare the Garlic Paste
Traditionally, this sauce is made using a mortar and pestle. Place the peeled garlic cloves and coarse salt into the mortar. Crush the garlic until it breaks down into a smooth, uniform paste. The salt helps to break down the garlic and draw out its moisture. If you don't have a mortar and pestle, you can use a garlic press and mash the resulting garlic with the salt in a small bowl using the back of a spoon.
2. Create the Emulsion
Begin adding the oil to the garlic paste, a few drops at a time, while stirring vigorously and continuously in one direction with the pestle or a spoon. As you mix, the oil will incorporate into the garlic, and the mixture will start to lighten in color and thicken into a creamy, mayonnaise-like consistency. Continue adding the oil slowly until it is all incorporated.
3. Loosen the Sauce
Once you have a thick, creamy base, switch to a small whisk or fork. Gently stir in the cold sparkling mineral water, one tablespoon at a time. The sparkling water will lighten the sauce, making it slightly foamy and bringing it to a pourable, yet still creamy, consistency.
4. Final Touches
Stir in the optional lemon juice or vinegar for a bit of acidity to cut through the richness. Taste and adjust the salt if needed.
5. Serve
Serve the Mujdei immediately. It is traditionally served alongside grilled meats (frigărui), fish, or simply with warm mămăligă (polenta).
Discover Moldova's most beloved condiment, Mujdei! This is a no-cook, intensely flavorful, and creamy garlic sauce that comes together in minutes. Using a simple emulsion technique, this recipe transforms a few basic ingredients into a powerful, pungent, and utterly addictive sauce, perfect for garlic aficionados seeking an authentic taste of Eastern Europe.
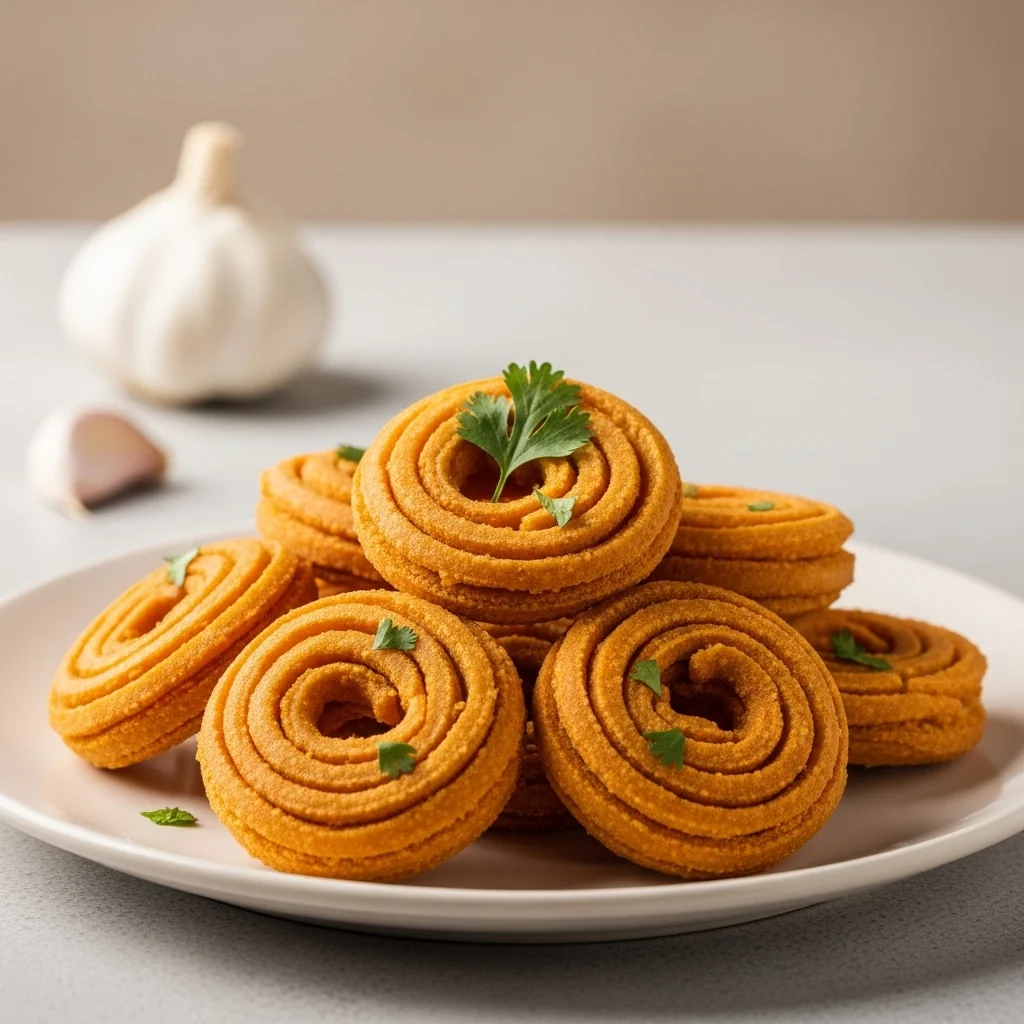
A South Indian Crunch: Fiery Garlic Murukku (Poondu Murukku)
Ingredients:
Fried, Garlic, Gluten-Free, Indian, Savory, Snack, South Indian, Spicy, Starter, Vegan
Instructions:
1. Prepare the Garlic-Chili Paste
In a small blender, combine the garlic cloves and dried red chilies. Add a small amount of water and blend until you have a smooth paste. Set this aside.
2. Mix the Dough
In a large mixing bowl, combine the gram flour, rice flour, sesame seeds, cumin seeds, asafoetida, and salt. Mix the dry ingredients well.
3. Combine Ingredients
Add the softened butter to the flour mixture and rub it in with your fingertips until it's well incorporated. Now, add the prepared garlic-chili paste and mix everything together.
4. Knead the Dough
Gradually add water, a little at a time, and knead to form a smooth, soft, and non-sticky dough. The dough should be pliable; if it's too tight, the murukku will be hard, and if it's too loose, it will absorb too much oil.
5. Prepare for Frying
Heat a generous amount of oil in a deep pan or kadai over medium heat. To test if the oil is ready, drop a small piece of dough into it; if it rises to the surface immediately, the oil is at the right temperature.
6. Shape the Murukku
Grease a murukku press (chakli maker) with a star-shaped mold. Fill the press with a portion of the dough. You can press the dough into spirals directly over the hot oil or onto greased ladles or parchment paper for easier handling.
7. Fry to Perfection
Carefully slide the shaped murukku into the hot oil. Fry them in batches, being careful not to overcrowd the pan. Cook on medium heat, turning occasionally, until they are golden brown and crispy on both sides. This is usually when the sizzling sound of the oil subsides.
8. Drain and Store
Once cooked, remove the murukku from the oil with a slotted spoon and place them on paper towels to drain any excess oil. Allow them to cool completely before storing them in an airtight container. Enjoy your fiery garlic crunch.
Get ready to fall in love with your new favorite tea-time companion! This recipe for Poondu Murukku, a classic South Indian savory treat, is a garlic lover's dream. We're talking crispy, crunchy, deep-fried spirals of rice and gram flour dough, infused with a bold paste of fresh garlic and red chilies. It’s an addictive snack that’s perfect for any occasion.
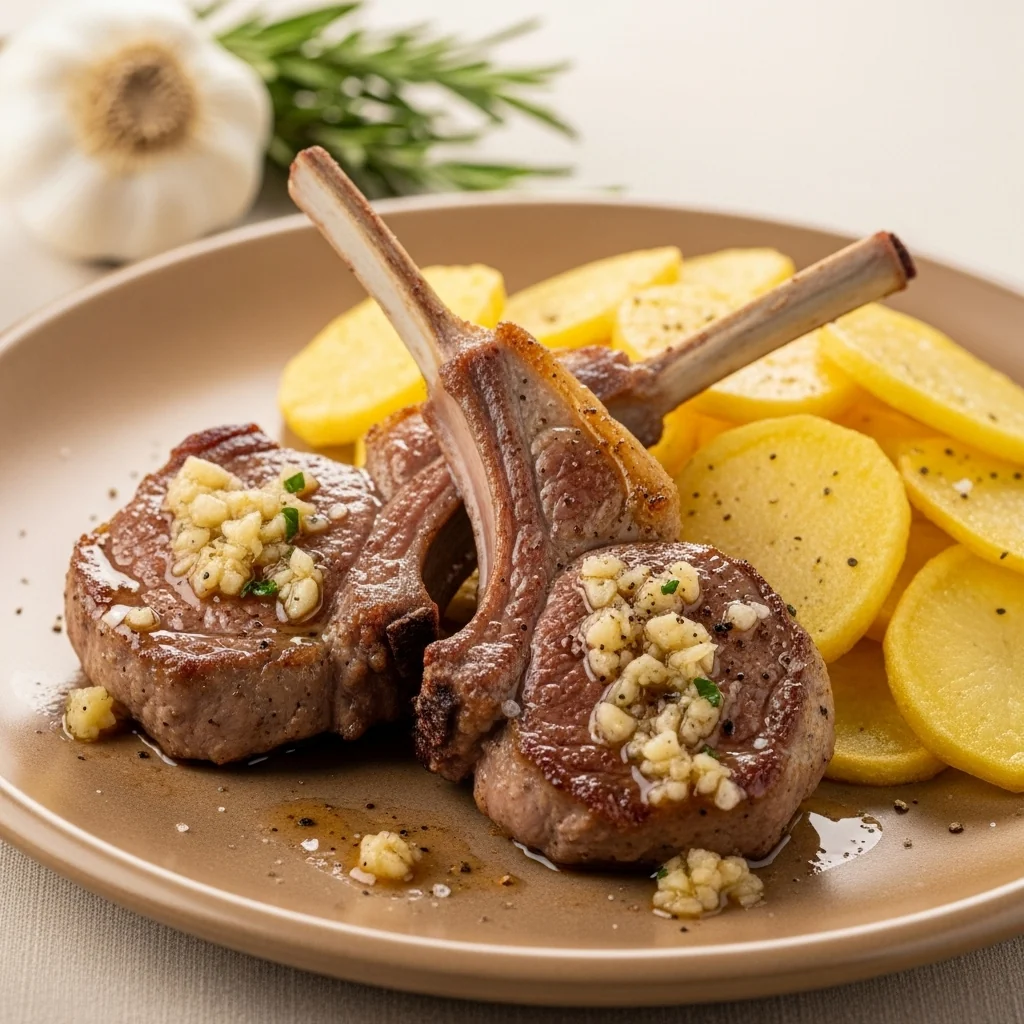
From Abruzzo’s Shepherds: Sizzling Garlic Lamb Chops (Costolette d’agnello all’aglio)
Ingredients:
Instructions:
1. Prepare the Garlic Paste
In a mortar, crush the peeled garlic cloves. Add the white wine vinegar and water, and continue to mix and pound until you have a smooth, homogenous paste.
2. Cook the Potatoes
Pour half of the olive oil into a large frying pan over medium-low heat. Once warm, add the thinly sliced potatoes and fry gently until they are cooked through and golden.
3. Cook the Lamb Chops
While the potatoes are cooking, heat the remaining olive oil in a second large frying pan over high heat. When the oil is very hot, add the lamb chops. Fry them briskly, ensuring they become well-browned and crispy on both sides.
4. Combine with Garlic Paste
Pour half of the garlic paste over the potatoes and the other half over the lamb chops.
5. Final Touches
Add a pinch of sugar to each pan, along with salt and pepper to taste. Stir everything well to ensure the meat and potatoes are fully coated in the garlic sauce.
6. Serve
Serve the sizzling garlic lamb chops immediately with the garlic potatoes alongside.
Discover a robust and rustic dish from the heart of Italy, perfect for true garlic lovers. Tender lamb chops and crispy potatoes are fried and then drenched in a powerful, pungent garlic and vinegar paste for a flavour explosion that's simple to create and impossible to forget.
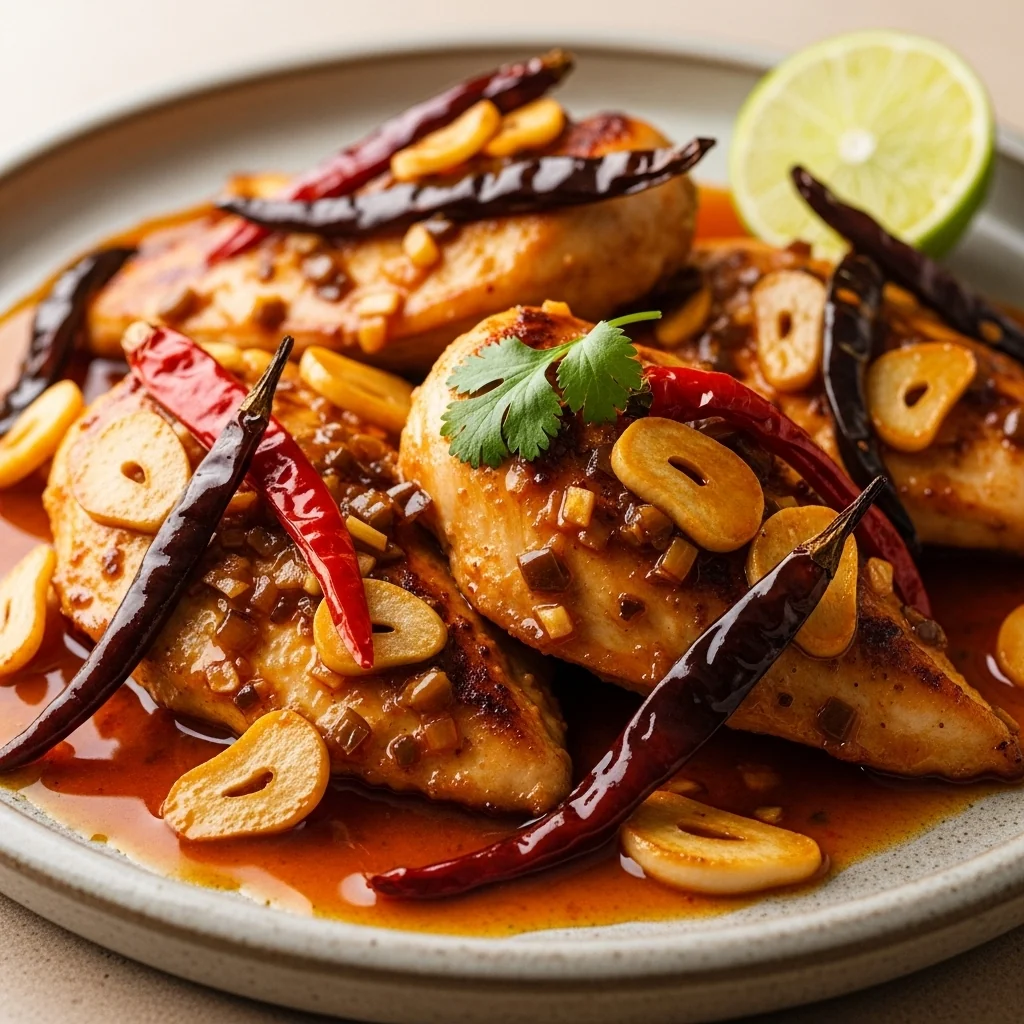
Mexico’s Fiery Embrace: Rustic Guajillo Garlic Chicken (Pollo al Ajillo)
Ingredients:
Instructions:
1. Slice The Chiles Into Thin Strips
In a skillet over medium heat, add a little oil and lightly toast the sliced garlic for about 30 seconds until fragrant, being careful not to burn it. Add the guajillo and chile de arbol strips and toast for another 30 seconds. Remove the garlic and chiles from the skillet and set aside.
2. Season The Chicken Breasts With Salt And Pepper
In the same skillet, add a bit more oil and cook the chicken until golden brown and cooked through.
3. Return The Toasted Garlic And Chiles To The Skillet
Return the toasted garlic and chiles to the skillet with the chicken. Add the butter and the juice of half a lime, stirring everything to combine. Let it cook for a few more minutes until the butter has melted and created a sauce that coats the chicken. Serve immediately, traditionally with white rice and tortillas.
Discover the heart of Mexican home cooking with this Pollo al Ajillo. Tender chicken is pan-fried and then simmered in a fragrant sauce of smoky guajillo chiles and plenty of garlic, finished with a touch of butter and lime. A rustic and fiery dish that's surprisingly simple to make.
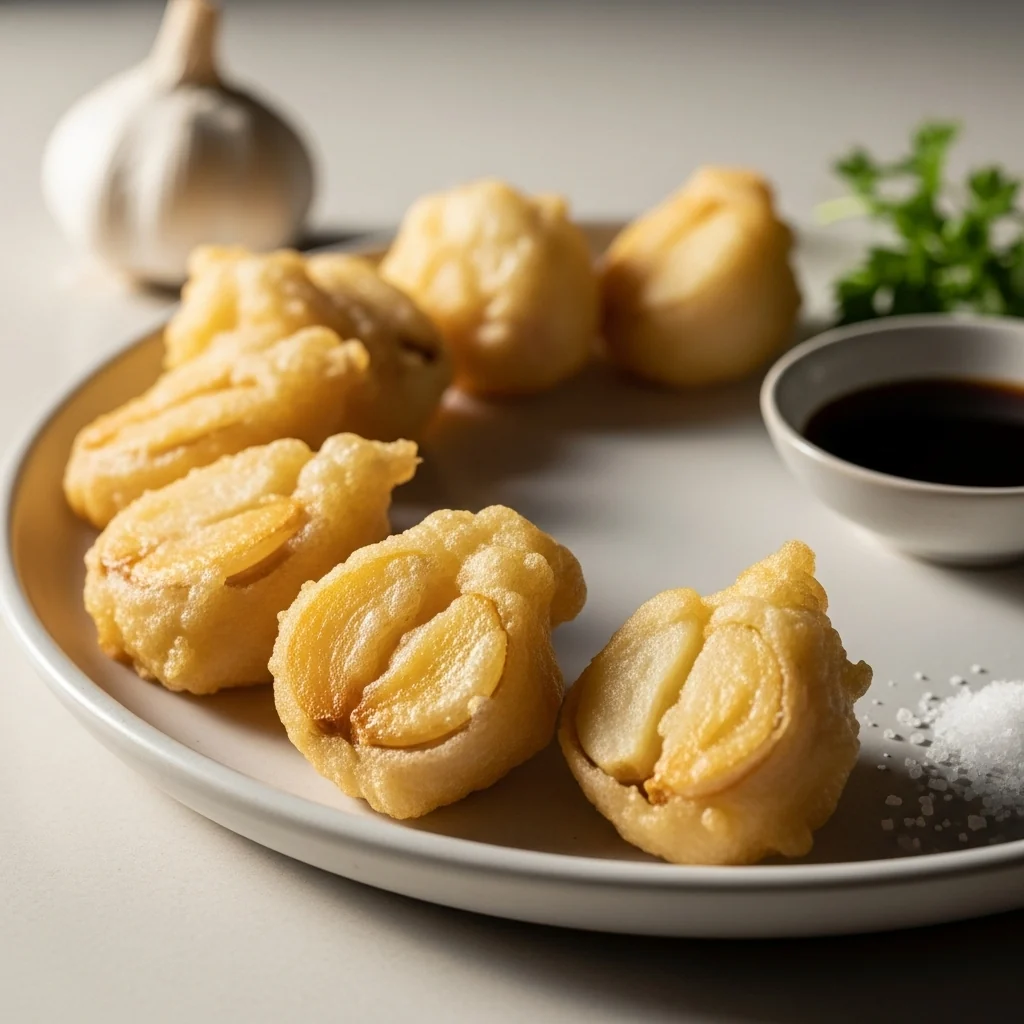
From Izakaya Bars to Your Kitchen: Fluffy & Sweet Garlic Tempura
Ingredients:
Instructions:
1. Prepare the Garlic
Separate the garlic heads into individual cloves and peel the skin off each one. For very large cloves, you can cut them in half. Set aside.
2. Make the Batter
In a bowl, combine the all-purpose flour, beaten egg, cooking sake, and cold water. Mix briefly; a few lumps are perfectly fine for a light tempura batter.
3. Heat the Oil
Pour about 1.5-2 inches of oil into a deep pan or pot and heat it to a low temperature of around 320°F (160°C). A good test is to drop a little batter into the oil; it should sink to the bottom and then slowly float back to the surface.
4. Fry the Garlic
Dip the peeled garlic cloves into the tempura batter, ensuring they are lightly coated. Carefully place the battered cloves into the hot oil.
5. Cook to Perfection
Fry for 7-10 minutes, turning occasionally, until the batter is a light golden color and the garlic inside is soft and cooked through. You can test for doneness by piercing a clove with a skewer or chopstick; it should go through easily.
6. Serve Hot
Remove the tempura from the oil with a slotted spoon and let it drain on a wire rack or paper towel. Serve immediately with a side of salt or a small dish of soy sauce for dipping.
A beloved Japanese Izakaya (pub) snack, this recipe transforms pungent garlic cloves into delightful, fluffy, and sweet morsels. The secret is a light tempura batter and a gentle fry, resulting in a surprisingly mellow and addictive treat. Perfect for garlic lovers looking for a new obsession.
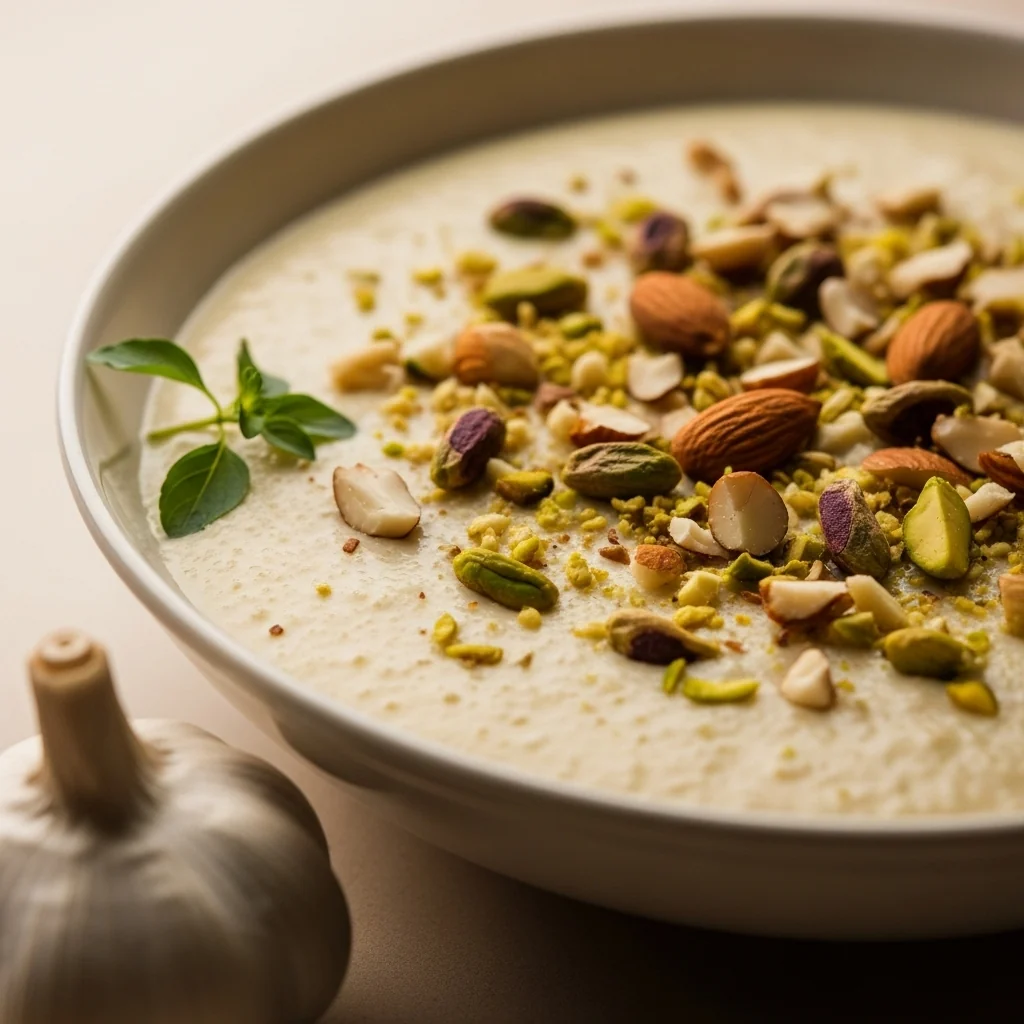
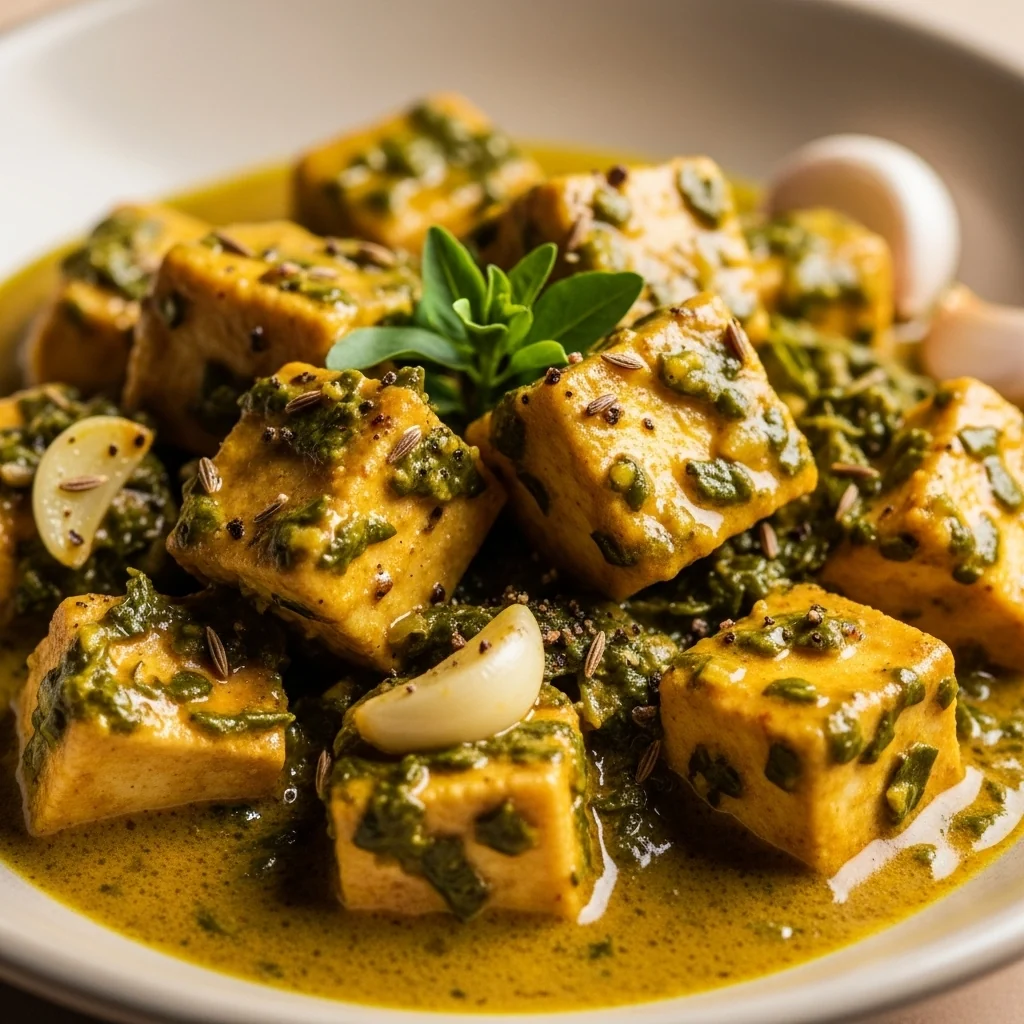
A Royal Secret: India’s Unbelievable Garlic Pudding (Lehsun ki Kheer)
Ingredients:
Dessert, Garlic, Gluten-Free, Indian, Royal, Sweet, Unique, Vegetarian
Instructions:
1. Prepare the Garlic
The key to this dish is removing the garlic’s strong smell and flavor. In a pan, add 1 cup of water, 1 tsp of vinegar, and the finely chopped garlic. Bring it to a boil, then lower the flame and cook for 5 minutes. Strain the garlic and discard the water. Repeat this boiling and straining process one more time with fresh water and another tsp of vinegar. For the third boil, use only plain water (no vinegar) and cook for 5 minutes before straining well. After the final strain, transfer the boiled garlic to a bowl and mash it into a paste. This repeated boiling process is crucial to neutralize the garlic’s pungency.
2. Reduce the Milk
In a separate heavy-bottomed pot, bring the 1 liter of milk to a boil over medium flame. Let it simmer, stirring occasionally, until it has reduced by about a quarter.
3. Combine and Cook
Add the mashed garlic paste to the reduced milk and stir continuously on a low flame to prevent lumps. After about 5 minutes, add the crumbled khoya and the green cardamom powder.
4. Thicken the Kheer
Continue to cook the mixture on low flame for 20-25 minutes, stirring continuously until the kheer thickens to a creamy, pudding-like consistency.
5. Sweeten and Finish
Add the sugar and cook for another 7-8 minutes, stirring until it’s fully dissolved.
6. Serve
Turn off the heat and let the kheer cool down completely. This dessert is best served chilled. Transfer to serving bowls and garnish generously with chopped mixed nuts before serving.
Forget everything you think you know about garlic and dessert. From the royal kitchens of Awadh, India, comes a sweet pudding that will challenge your perceptions and delight your taste buds. This unique dish, also known as Benami Kheer (the kheer with no name), cleverly uses garlic, but not as you know it. Through a special process, the garlic's pungency is removed, leaving behind a subtle, nutty flavor that mimics almonds. It's a creamy, surprising, and truly unforgettable dessert experience.